Lighthouse Funds - Going Retail (Part 2)

JAMstack with Next.js, Netlify and Prismic CMS

The new Lighthouse Funds site
This article is the second of a three-part series. Make sure you’ve read part one before reading on!
Prismic CMS: The Headless Website Builder for JAMstack
Prismic is a Headless CMS, also known as an API CMS. This is a way to author content, but instead of having your content coupled to a particular output, it provides your content as data over an API.
We chose Prismic because it was built with developer productivity in mind. It provides the primary function of a CMS — delivering content — in a straightforward and efficient manner.
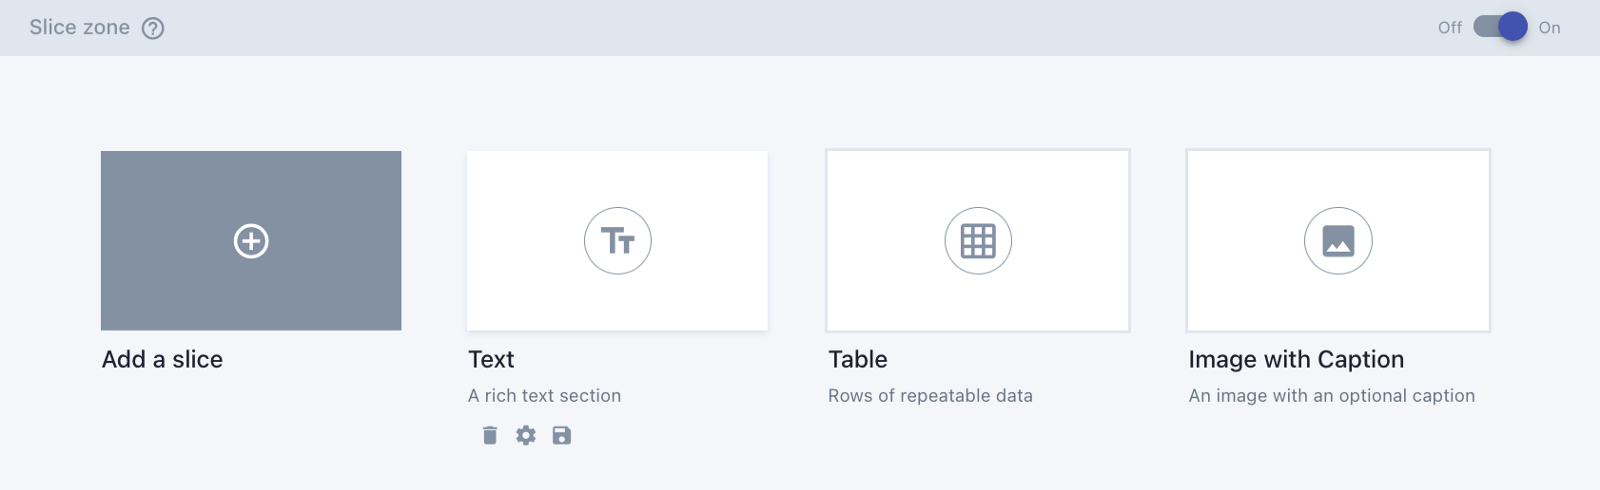
The visual builder to model content is simple, but if you work better in JSON, there’s an option for that too. Once these types are defined, it’s easy to handover to content creators, who can use the drag and drop type components and rich text WYSIWYG editor to customise a page or post.
There are 5 steps to setting up your Prismic repository:
1. Modeling your custom types
I created a number of single-use and reusable custom types that would be applicable for each blog post. Nothing is required in Prismic, nor do they have validation rules for any of their fields — read more about that here.

Single-use types
Reusable types
2. Creating content based on those types
Once the initial setup was complete, it was easy enough for anyone to start populating content. I’ve handed over to the product owner to create the blog posts, meaning there is now zero development time spent on creating and publishing blog posts to the live site.
3. Configuring Prismic within your app and build process
As we’d already chosen Next.js, it was convenient that Prismic had a Next-specific guide.
At the time of implementation, Prismic’s Slice Machine functionality wasn’t an offering. All I needed to do was:
yarn global add prismic-cli
Then I installed the “Sample blog” project, to use as a starting point. This provided me with some basic pages for listing all the posts, and showing a single post. It also included the JSON structure for some custom types, which I ended up refactoring, and then used them to edit my own custom types.
4. Querying the content
The sample project included a configuration file, where I could declare the API endpoint for our repository, and the access token.
// -- Prismic API endpoint
// Determines which repository to query and fetch data from
// Configure your site's access point here
export const apiEndpoint = `${process.env.PRISMIC_API_ENDPOINT}`

// -- Access Token if the repository is not public
// Generate a token in your dashboard and configure it here if your repository is private
export const accessToken = `${process.env.PRISMIC_ACCESS_TOKEN}`
~/prismic-configuration.js
It also included some utilities such as helpers that instantiated a Prismic client, which is used to fetch documents from the Prismic repository.
// Client method to query documents from the Prismic repo
export const Client = (req = null) =>
  Prismic.client(apiEndpoint, createClientOptions(req, accessToken))

const createClientOptions = (req = null, prismicAccessToken = null) => {
  const reqOption = req ? { req } : {}
  const accessTokenOption = prismicAccessToken ? { accessToken: prismicAccessToken } : {}
  return {
    ...reqOption,
    ...accessTokenOption,
  }
}
~/utils/prismicHelpers.js
The client has a number of helper functions that allow us to query documents by different attributes, such as the UID, type, tag, date, or a specific field defined in the custom types.
As I built our blog post component — and it’s routes — around the UID, I used the getByUID helper function like so:
export async function getStaticProps({ params, preview = null, previewData = {} }) {
  const { ref } = previewData

  const post = (await Client().getByUID('post', params.uid, ref ? { ref } : null)) || {}

  return {
    props: {
      preview,
      post,
    },
  }
}
~/pages/blog/[uid].js
5. Deployment
The project is deployed on Netlify — which I detail further down. I needed to add the two environment variables used in the configuration file mentioned above: PRISMIC_API_ENDPOINT and PRISMIC_ACCESS_TOKEN. These can be created in the Build & Deploy settings.
I then set up two build hooks (also created in the Build & Deploy setting) for triggering a site rebuild when new posts are published to both our staging and production environments.
I copied the URL that the Netlify UI created, and provided it to Prismic under the Webhooks settings:
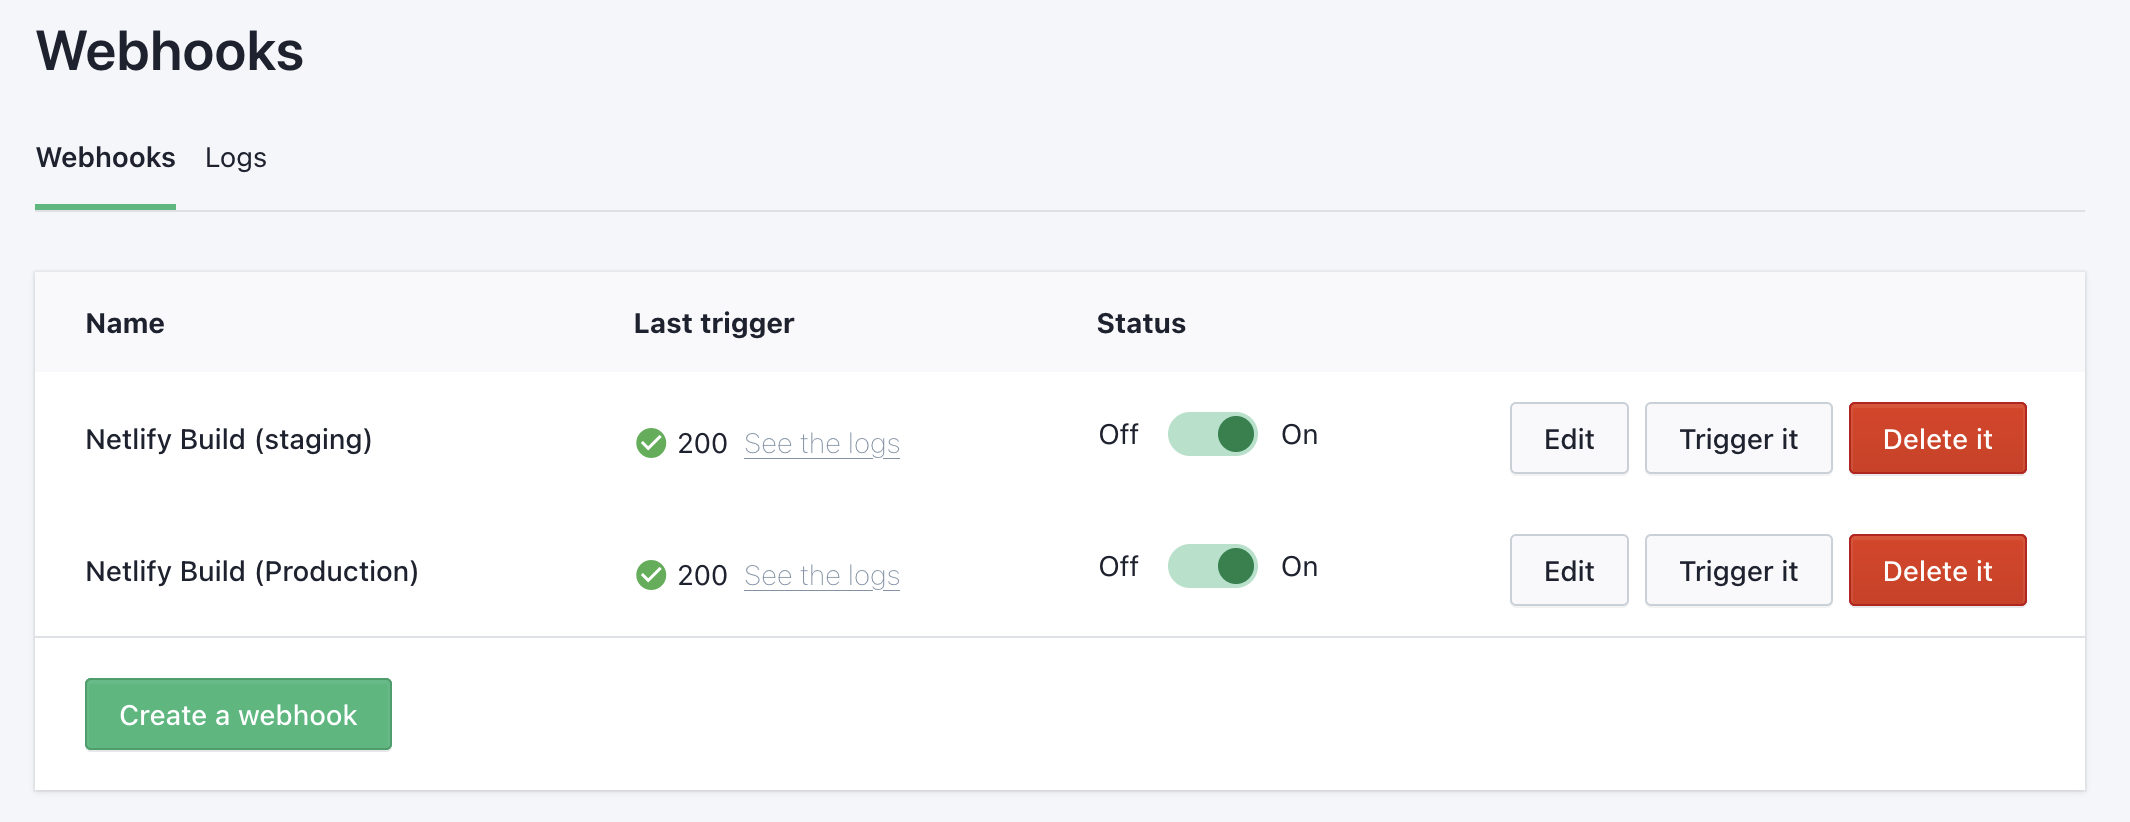
Webhooks set up in the Lighthouse Funds Prismic repository — one for each environment.
A powerful Prismic feature: Previews
Previews give content editors the ability to preview content without publishing it to the live site. The sample Next.js project included the two API files required to configure preview mode: ~/pages/api/preview.js and ~/pages/api/exit-preview.js.
The /preview API generates a temporary and secure ref (a token that references a specific content version) for the preview session, and then sets a cookie with this token on the browser, and redirects the user to the preview URL.
The /exit-preview API clears this cookie. To access the functionality, the user needs to manually add /api/exit-preview to the URL in their browser.
I found this functionality particularly useful when testing out custom types in Prismic. I was also able to set up previews in our staging environment, meaning they could be easily shared outside of my local environment.
The MailChimp Marketing API
From the Lighthouse website point of view, Mailchimp is being solely used to manage audiences — to subscribe users to one of the audience groups — Insights and KiwiSaver.
I used Next.js API routes to create a /subscribe API that works together with a custom React component MailChimpSignupForm.jsx to pass a user’s email address and the Group ID (determined by which form/page the user is signing up from) to the Mailchimp Marketing API client, which is then used to add a member to the relevant Group.
Alongside the Prismic API routes inside the ~/pages/api folder, I created a subscribe.js file, which sets some configuration for the Mailchimp Marketing client, and then when called from the MailChimpSignupForm component, attempts to either add or update a list member in the given audience group:
const MAILCHIMP_REGION = process.env.MAILCHIMP_API_KEY.split('-')[1]

mailchimp.setConfig({
  apiKey: process.env.MAILCHIMP_API_KEY,
  server: MAILCHIMP_REGION,
})

const subscribe = async (req, res) => {
  const { email, groupId } = req.body

  if (!email) {
    return res.status(400).json({ error: 'Email is required' })
  }

  try {
    // See: https://mailchimp.com/developer/marketing/api/list-members/add-or-update-list-member/
    await mailchimp.lists.setListMember(
      process.env.MAILCHIMP_AUDIENCE_ID,
      md5(email.toLowerCase()),
      {
        email_address: email,
        status_if_new: 'subscribed',
        status: 'subscribed',
        interests: {
          [groupId]: true,
        },
      }
    )

    return res.status(201).json({ error: '' })
  } catch (error) {
    const { detail, status, title } = error.response.body

    return res.status(status).json({ error: `${title}: ${detail}` })
  }
}
~/pages/api/suscribe.js
AWS SDK / S3 Client
Downloadable documents and forms are stored in an AWS S3 bucket. I used the S3 Client to fetch the monthly factsheets and the quarterly reports that are stored in this bucket.
I used credentials generated from a specific IAM user in AWS to configure the client, which are stored as environment variables in Netlify. There is a policy attached to this user which gives the user List and Read access to the bucket. The ListObjectsV2Command returns all (up to 1000) objects in a specified bucket. I filter the objects returned by the presence of a .pdf file format, and then determine the year and label (month or quarter, depending on the document type) from the object name, which follows a specific naming convention. From there, I build up an object to be injected into the Library page component as props.
export async function getStaticProps() {
  const monthlyFactsheetsParams = {
    Bucket: process.env.LIGHTHOUSE_PUBLIC_BUCKET,
    Prefix: 'monthly-factsheets/',
  }
  const quarterlyReportsParams = {
    Bucket: process.env.LIGHTHOUSE_PUBLIC_BUCKET,
    Prefix: 'quarterly-reports/',
  }

  const monthlyFactsheetsData = await getFilesFromS3Bucket(monthlyFactsheetsParams)

  const quarterlyReportsData = await getFilesFromS3Bucket(quarterlyReportsParams)

  return {
    props: {
      monthlyFactsheetsData,
      quarterlyReportsData,
    },
  }
}
Data fetching function in ~/pages/library.js, making use of the getFilesFromS3Bucket function below
async function getFilesFromS3Bucket(params) {
  const s3Client = new S3Client({
    credentials: {
      accessKeyId: process.env.NEXT_PUBLIC_AWS_ACCESS_KEY_ID,
      secretAccessKey: process.env.NEXT_PUBLIC_AWS_SECRET_ACCESS_KEY,
    },
    region: 'ap-southeast-2',
  })

  return await s3Client
    .send(new ListObjectsV2Command(params))
    .then(data => {
      const objects = JSON.parse(JSON.stringify(data.Contents))

      return objects.reduce((acc, val) => {
        if (val.Key.includes('.pdf')) {
          const fileNameSegments = val.Key.replace('.pdf', '').split('_')
          const label = fileNameSegments[fileNameSegments.length - 2]
          const year = fileNameSegments[fileNameSegments.length - 1]

          if (acc[year]) {
            acc[year] = { ...acc[year], [label]: val.Key }
          } else {
            acc[year] = { [label]: val.Key }
          }
        }
        return acc
      }, {})
    })
}
Reusable function to fetch files stored in the S3 bucket, and then build and return an object keyed by label (month or quarter) and then year
{
  "2021": {
    "April": "monthly-factsheets/2021/Lighthouse_Global_Equity_Fund-Looking_back_on_April_2021.pdf",
    "August": "monthly-factsheets/2021/Lighthouse_Global_Equity_Fund-Looking_back_on_August_2021.pdf",
    "July": "monthly-factsheets/2021/Lighthouse_Global_Equity_Fund-Looking_back_on_July_2021.pdf",
    "June": "monthly-factsheets/2021/Lighthouse_Global_Equity_Fund-Looking_back_on_June_2021.pdf",
    "May": "monthly-factsheets/2021/Lighthouse_Global_Equity_Fund-Looking_back_on_May_2021.pdf",
    "September": "monthly-factsheets/2021/Lighthouse_Global_Equity_Fund-Looking_back_on_September_2021.pdf"
  }
}
Example data passed in as props to ~/pages/library.js
Up next
In part three of this three-part series, I explain how the Netlify platform is used to build and ship the site with minimal configuration. I also touch on operating costs and ongoing maintenance, and why the tools and technologies we chose have set us up well for the future.