.NET adventures
Step-by-step blogging app using Blazor
TL;DR: here’s the project on Github.
I’ve never had anything to do with the .NET platform in all my time at Abletech. So, why now?
Simply put: it’s an untapped potential revenue stream, and likely a large one at that. The demand for ‘c#’ greatly outstrips that for ‘elixir’ — at the time of writing, there was a mere handful of jobs returned by ‘elixir’, versus several hundred for ‘c#’ on SEEK. Happily, this also lines up with one of Abletech’s team values: to be a profitable, sustainable business.
I also happened to have a couple of days in between billable client work, as well as a long weekend made even longer thanks to some leave, at my disposal. This meant I could put in some investment time towards learning something new. Once again, this happily lines up with another of Abletech’s team values: to strive for continuous improvement.
The project — a Blazor blogging app
Blazor is a fairly new framework for building web UIs using C# — that’s right, no more JavaScript. This should remind the Elixir-inclined of Phoenix LiveView. Don’t confuse Blazor components (with .razor extension) with the earlier Razor pages (with .cshtml extension).
For my investment time project, I chose to explore how I could use Blazor to create a blogging app. Although admittedly a boring choice, it does cover a lot of the basics: database access, basic CRUD, routing and so on.
The key word here is explore: before I started, I knew nothing about C# or EntityFramework or any of that. There was a lot of flailing around at the beginning, and I hope that what follows might be of help to someone else who also decides to dive into .NET.
Initial setup
There is a Visual Studio for macOs, but pay attention to the supported features (or lack thereof) compared to the Windows version. You will need to install the dotnet CLI as well — I got it off the ‘official’ ASP.NET Hello World tutorial.
At this point you could fire up Visual Studio and create a new project like so… but don’t.
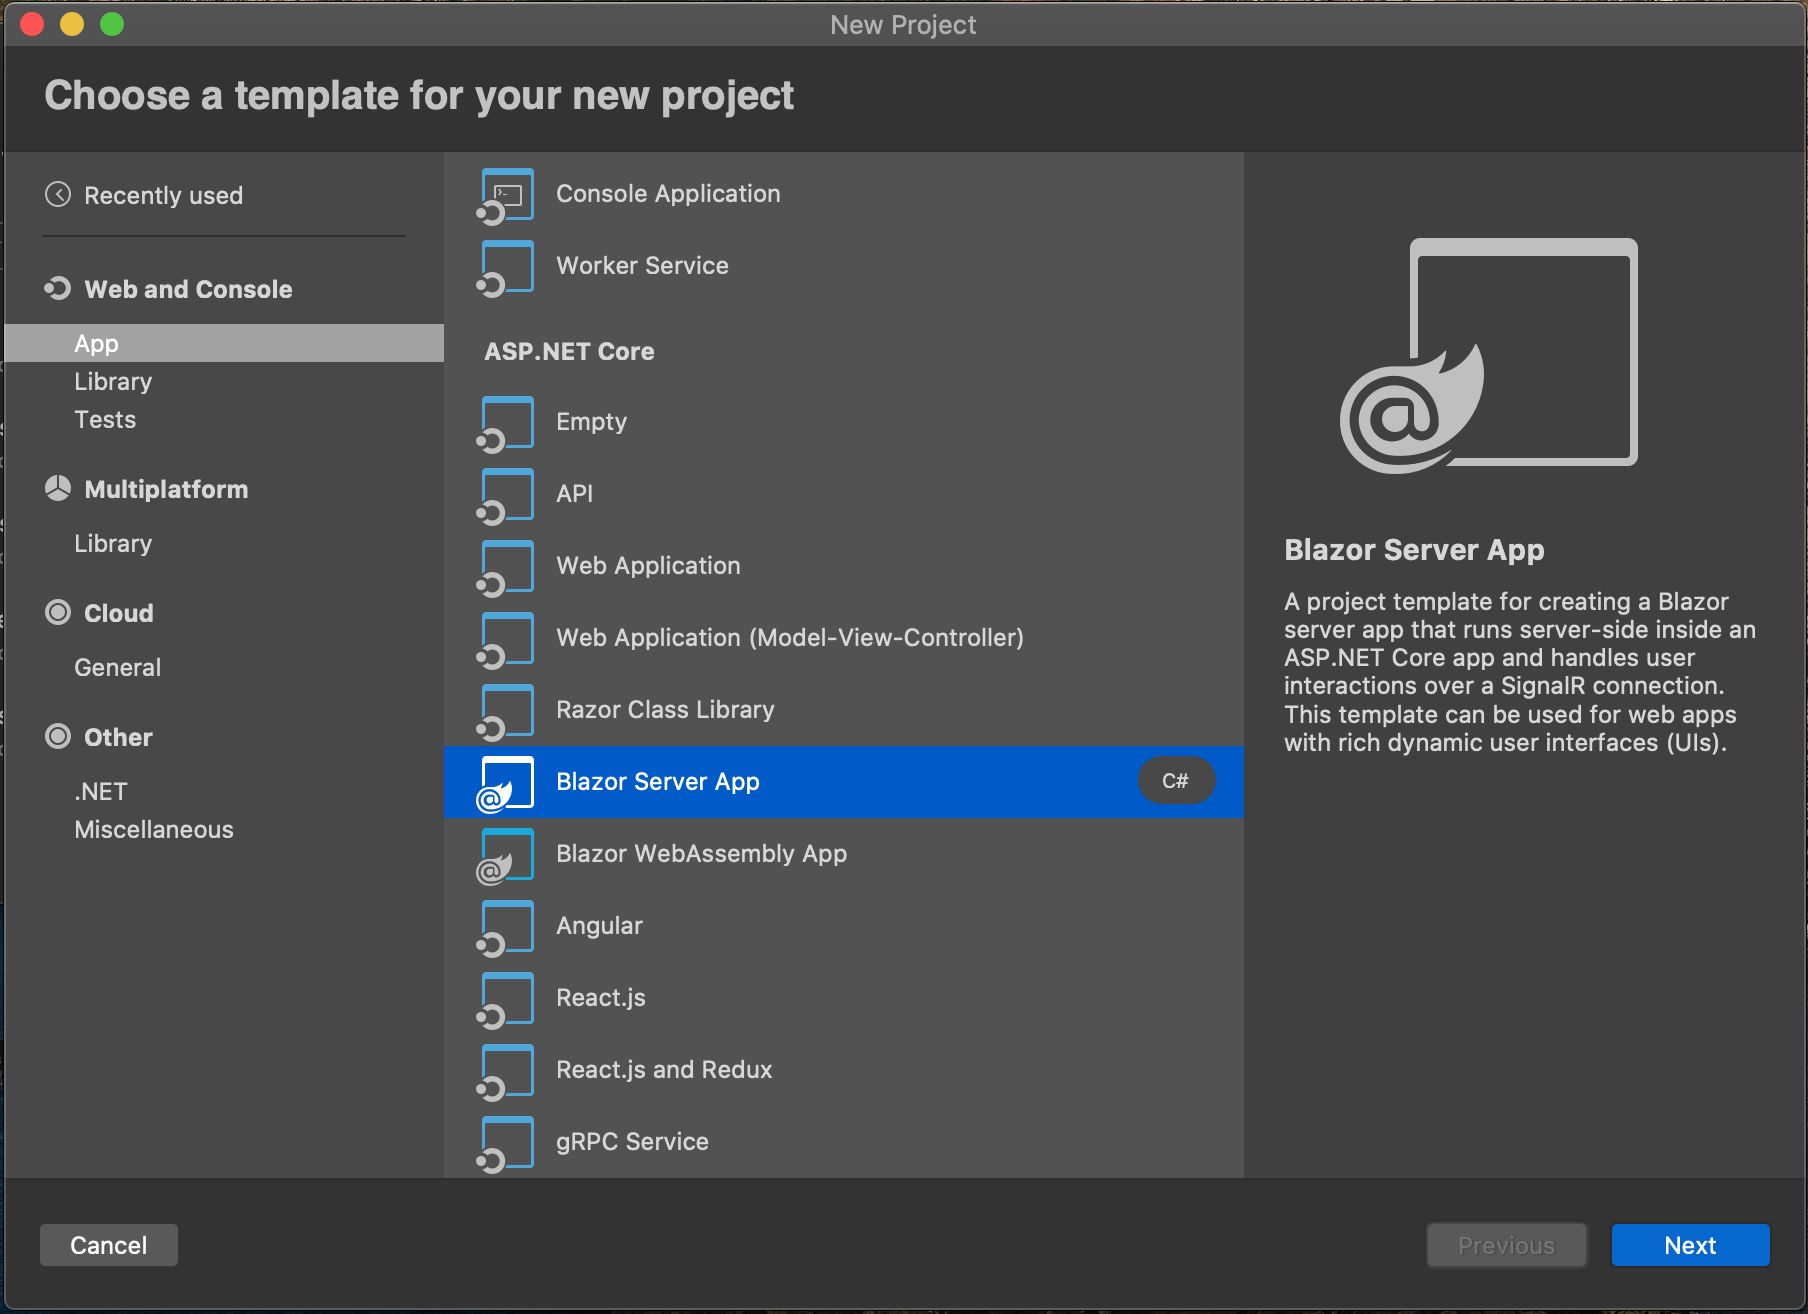
By default, Visual Studio for Windows will create a project designed to use SQL Server, but Visual Studio for macOS will create a project designed to use SQLite instead. Unfortunately SQLite has some limitations around schema changes, eg. it’s possible to add, but not remove a column from a table, although to be fair there are workarounds for this.
Create project
I believe it is better practice, and more production-ready to create an app that uses SQL Server instead. To do this, you will need to use the dotnet CLI:
dotnet new blazorserver --use-local-db --auth Individual --name Golb
A starter project should be created, and you should be able to see that it is configured to use SQL Server:
// Startup.cs

services.AddDbContext<ApplicationDbContext>(options =>
    options.UseSqlServer(
        Configuration.GetConnectionString("DefaultConnection")));
Note that creating a project using the dotnet CLI will not create a .gitignore file for you. You may want to create a throwaway project using the IDE and copy over the generated .gitignore file to your real project. You will also be missing a Golb.sln file — simply select the Golb.csproj file in Visual Studio for macOS, and the solution will be created automagically.
Run SQL Server
For macOS, the only option is to run SQL Server with Docker:
docker pull mcr.microsoft.com/mssql/server:2019-latest
docker run -d - name sql_server -e ACCEPT_EULA=Y -e SA_PASSWORD=<yourPasswordHere> -p 1433:1433 mcr.microsoft.com/mssql/server:2019-latest
You should be able to see it running:
docker ps
CONTAINER ID        IMAGE                                        COMMAND                  CREATED             STATUS              PORTS                    NAMES
831295b80b53        mcr.microsoft.com/mssql/server:2019-latest   "/opt/mssql/bin/perm…"   3 minutes ago       Up 2 seconds        0.0.0.0:1433->1433/tcp   sql_server
To stop or restart:
docker stop sql_server
docker start sql_server
Link app and database
Remember the DefaultConnection from earlier? Update it to point to our Docker-ised SQL Server. Note that Password must match the SA_PASSWORD used when the SQL Server container was run up:
// appsettings.json
{
  "ConnectionStrings": {
    "DefaultConnection": "Data Source=localhost,1433;User ID=sa;Password=superSecurePwd123;Connect Timeout=30;Database=GolbDatabase"
  }
  ... etc
}
Run migrations (?)
In our local development environment, it is convenient to ensure all migrations are run on app startup. Add the following:
// Startup.cs

 // Should not user Database.Migrate() in production, instead migrations should be done as part of deployment
using (var srvc = app.ApplicationServices.GetRequiredService<IServiceScopeFactory>().CreateScope())
    {
        var context = srvc.ServiceProvider.GetService<ApplicationDbContext>();
        context.Database.Migrate();
    }
However, this is a poor approach in production eg. if there are migration errors, your app won’t be available. Unfortunately I did not have time to investigate this further.
Sanity check
Visual Studio for Windows has a built-in Server Explorer that can be used to check database connectivity and to run queries. Unfortunately this does not appear to be available in Visual Studio for macOs.
However, if you’ve been following along and supplied the —- auth Individualoption when creating the app, the starter project should have been created with Register and Login pages. This means we can check for database connectivity by registering a new user.
Fire up your app either by clicking ▶ in the IDE, or with dotnet run, navigate to the Register page and enter the usual user details. Don’t forget to click ‘Click here to confirm your account’:
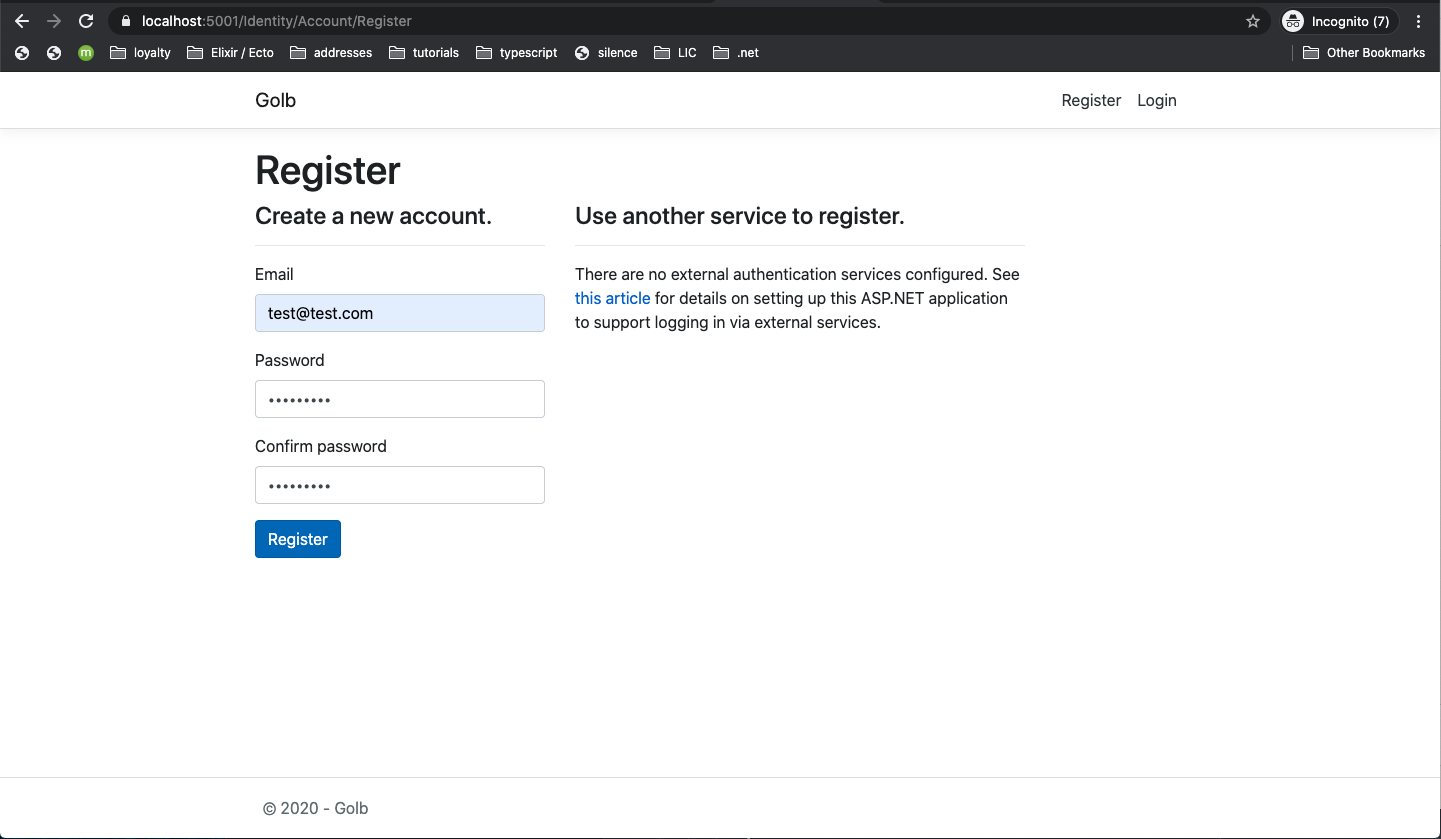
If that all worked, you should now be able to login to the app.
Database migrations and mapping
Entity Framework is the object-database mapper for the .NET platform, and it doesn’t come pre-installed. For the Elixir people, this would be similar to Ecto, and for the Ruby/Rails people, think ActiveRecord.
Install dotnet-ef
You can install this through Visual Studio for macOs via Project > Manage NuGet packages… or through the dotnet CLI:
dotnet tool install --global dotnet-ef
You may need to add this to your path, eg. for zsh users, add something like this to your ~/.zshrc:
export PATH="$PATH:/Users/fionasanggang/.dotnet/tools"
Add a Post model
Create a new model that will represent the table that will be created in the database:
// Data/Post.cs

using System;

namespace Golb.Data
{
    public class Post
    {
        public int Id { get; set; }
        public string Title { get; set; }
        public string Body { get; set; }
        public DateTime PostedAt { get; set; }
    }
}
And then hook it up to the database context:
// Data/ApplicationDbContext.cs

public class ApplicationDbContext : IdentityDbContext
{
    ...etc

    public DbSet<Post> Posts { get; set; }

    protected override void OnModelCreating(ModelBuilder builder)
    {
        builder.Entity<Post>();
        base.OnModelCreating(builder);
    }
}
Create the Posts database table
Now run the following to generate the migration file, and then run the migration:
dotnet ef migrations add Posts
dotnet ef database update
Sanity check
As previously mentioned, there doesn’t appear to be a built-in Server Explorer in Visual Studio for macOs, so to check that we now indeed have a Posts table, connect to the sql_server container:
docker exec -it sql_server bash
Users familiar with psql will be happy to know that sqlcmd is reasonably similar. The command /opt/mssql-tools/bin/sqlcmd -? may come in handy, but for our immediate purposes, just run the following:
/opt/mssql-tools/bin/sqlcmd -S localhost -U "sa" -P "yourPasswordHere" -I
Now let’s run some queries. Note that unlike Postgres queries which are terminated with ; , each sqlcmd command must be followed by GO(omitted in the examples below for brevity):
select Name from sys.Databases
use GolbDatabase
select * from information_schema.tables
select * from information_schema.columns where table_name = 'Posts'
You should be able to see a Posts table, with the the columns Id, Title, Body and PostedAt… sort of. In SQL Server, there is no simple equivalent like Postgres’s \x to view records vertically.
Basic CRUD
The starter project has a FetchData component with a useful pattern to follow for fetching data, so let’s do something similar to list Posts.
List posts
First, the access layer: create a service that will carry out database-related actions. This is similar to a context in Elixir apps.
// Services/PostService.cs

using Microsoft.EntityFrameworkCore;
using System.Collections.Generic;
using System.Threading.Tasks;
using Golb.Data;

namespace Golb.Services
{
    public interface IPostService
    {
        Task<Post[]> Get();
    }

    public class PostService : IPostService
    {
        private readonly ApplicationDbContext _context;

        public PostService(ApplicationDbContext context)
        {
            _context = context;
        }

        public async Task<Post[]> Get()
        {
            return await _context.Posts.ToArrayAsync();
        }
    }
}
Register this service on startup. I am unsure why I had to use AddTransient as opposed to AddSingleton or AddScoped, but was unable to investigate this further.
... etc
using Golb.Services;

public void ConfigureServices(IServiceCollection services)
{
    ...etc

    services.AddTransient<PostService>();
}
Then call the service to list all posts. Notice how routing, markup and code are all in the same Blazor component. This shouldn’t look too unfamiliar if you’ve dabbled in Vue.js.
// Pages/Post/Index.razor

@page "/posts"

@using Golb.Data
@using Golb.Services
@inject PostService service

@if (posts == null)
{
    <p><em>Loading...</em></p>
}
else if (posts.Length == 0)
{
    <p>No posts</p>
}
else
{
    @foreach (Post post in posts)
    {
        <h2><a href="/posts/@post.Id">@post.Title</a></h2>
        <p>@post.PostedAt</p>
        <p>@post.Body</p>
     }
}

@code {
    private Post[] posts;

    protected override async Task OnInitializedAsync()
    {
        posts = await service.Get();
        posts = posts.OrderByDescending(post => post.PostedAt).ToArray<Post>();
    }
}
And add a new link to the navigation bar:
... etc

<li class="nav-item px-3">
    <NavLink class="nav-link" href="posts">
    <span class="oi oi-list-rich" aria-hidden="true"></span> Posts
    </NavLink>
</li>

... etc
Now you should be able to navigate to localhost:5001/posts… except there are no posts yet to display.
The rest
The remaining CRUD actions follow essentially the same pattern: add the functionality to PostService and use it in the component. So I won’t go over them in detail here, but leave it to the reader to check out the completed project on Github.
Role-based authorisation
The .NET platform supports role-based or policy-based authorisation, and I chose the former for this project. I want only users with an Admin role to be able to create, update, and delete posts. All users, whether authenticated or not, should be able to view the list of posts, and to view each individual post.
The Admin role
I am unsure as to the best way to achieve this. Eventually I opted to use the existing registration and authentication functionality provided by the starter project to create an Admin user, and then assign an Admin role to that user on application startup.
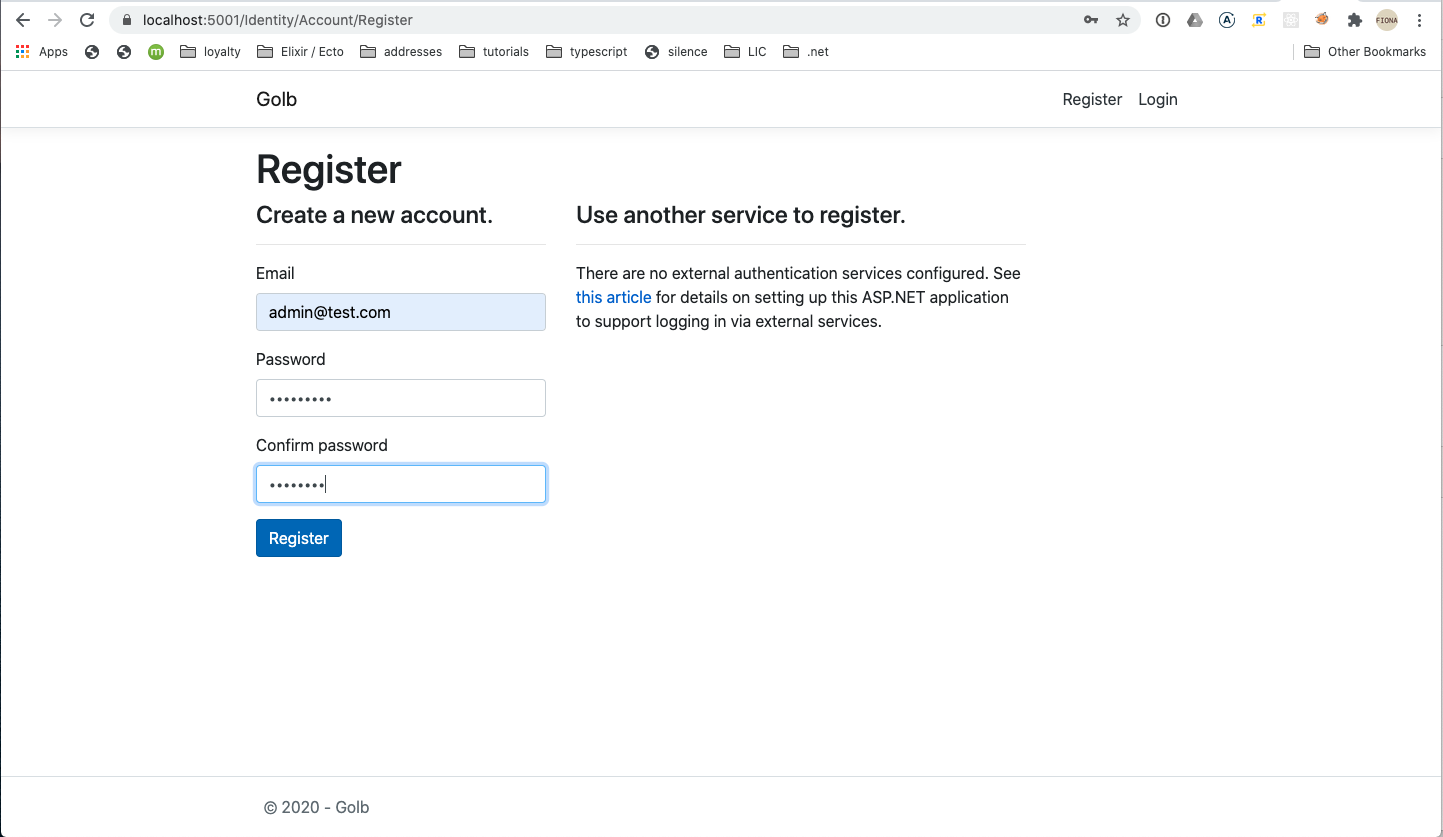
First the initialiser. This creates an Admin role if one does not already exist and links it with our user with the email admin@test.com — if you were to look in the database, you should see a new AspNetRoles record with the name Admin, and a new join record in the AspNetUserRoles table linking this Admin role to our admin@test.com user.
// Data/ApplicationInitialiser.cs

using Microsoft.AspNetCore.Identity;
using System.Threading.Tasks;

public static class ApplicationInitialiser
{
    private const string ADMIN_ROLE = "Admin";

    public static async Task Initialise(UserManager<IdentityUser> userManager, RoleManager<IdentityRole> roleManager)
    {
        // ensure there is a ADMIN_ROLE if not create one
        IdentityRole adminRole = await roleManager.FindByNameAsync(ADMIN_ROLE);

        if (adminRole == null)
        {
            await roleManager.CreateAsync(new IdentityRole(ADMIN_ROLE));
        }

        // Ensure a user named admin@test.com is an Admin
        var user = await userManager.FindByEmailAsync("admin@test.com");

        if (user != null)
        {
            bool userIsAdmin = await userManager.IsInRoleAsync(user, ADMIN_ROLE);

            if (!userIsAdmin)
            {
                await userManager.AddToRoleAsync(user, ADMIN_ROLE);
            }
        }
    }
}
Then make sure our initialiser is run on application startup. Don’t forget to rebuild and restart the application.
// Startup.cs

...etc

using Microsoft.AspNetCore.Authorization;

public void ConfigureServices(IServiceCollection services)
{
    ... etc
    services.AddDefaultIdentity<IdentityUser>(options => options.SignIn.RequireConfirmedAccount = true)
        .AddRoles<IdentityRole>()
        .AddEntityFrameworkStores<ApplicationDbContext>();
}


public void Configure(IApplicationBuilder app, IWebHostEnvironment env, UserManager<IdentityUser> userManager, RoleManager<IdentityRole> roleManager)
{
    ... etc
    ApplicationInitialiser.Initialise(userManager, roleManager).Wait();
}
Authorising access
With Blazor, we can selectively apply role-based authorisation to UI elements in Razor components, or to the entire Razor component altogether.
For example, wrap the + New Post button in an AuthorizeView component:
// Pages/Post/Index.razor
<AuthorizeView Roles="Admin">
<div class="form-group float-right">
<a class="btn btn-success" href="posts/new">
<i class="oi oi-plus"></i>
New Post
</a>
</div>
</AuthorizeView>
Or use the [Authorize] attribute to prevent non-Admin users from accessing localhost:5001/posts/new altogether:
// Pages/Post/New.razor


@page "/posts/new"
@attribute [Authorize(Roles = "Admin")]


... etc
Markdown
So far, posts are displayed without any formatting, not very much like a blogging app at all. I want to enable users to create or edit a post with Markdown, and display a preview of their changes alongside as they type.
Adding the Markdig package
Luckily there is already a Nuget package for a .NET Markdown processor. You can install this through Visual Studio for macOs via Project > Manage NuGet packages… or through thedotnet CLI:
dotnet add package Markdig --version 0.22.0
Markdown preview
Markdig makes it easy to convert Markdown to to HTML, so we can use that for a post's body:
// Post.cs
using Markdig;

namespace Golb.Data
{
    public class Post
    {
        ... etc

        public string MarkupString {
            get
            {
                return this.Body == null ? "" : Markdown.ToHtml(this.Body);
            }
        }
    }
}
And we can add two-way binding between user input and the rendered, HTML preview:
// Pages/Post/Edit.razor

<div class="row">
    <div class="col-6">
        <input type="hidden" @bind-value="@post.Body" />
        <textarea rows="20" class="form-control" id="body" @bind="@post.Body" @bind:event="oninput" />
    </div>
    <div class="col-6">
        @((MarkupString) post.MarkupString)
    </div>
</div>
If everything worked as expected, you should now be able to do something like this:

I also used a post’s MarkupString instead of its body when creating a new post, as well as when displaying a single post. Once again I’ll leave it to the reader to check out the project on Github.
Final notes
And there you have it: some semblance of a blogging app. If you missed it, here is the project on Github.
Blazor itself looks promising, but I did run into some trouble while working on this project. I think my main bugbears were:
-
Visual Studio for macOs is not mature, which means that existing tutorials, answers on Stack Overflow etc can be confusing.
-
The official documentation is very good, but seemed fragmented. I could not find a single official tutorial for what I thought should be a fairly basic, example app.
-
Having to rebuild and rerun every time I make a change. Ugh!